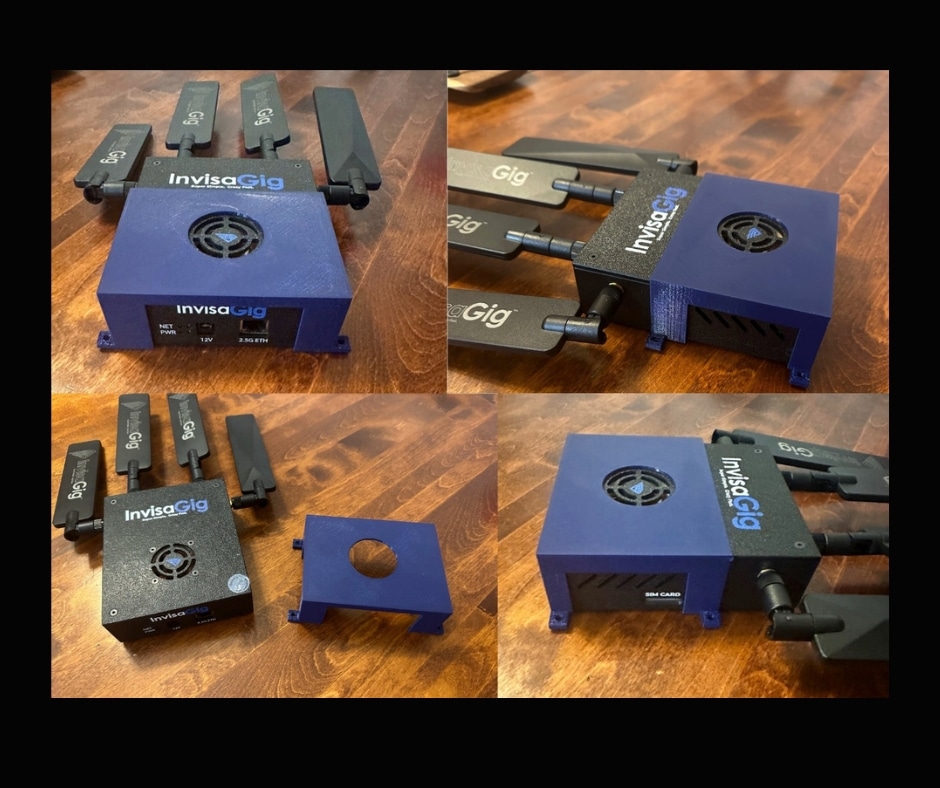
When we initially designed the InvisaGig case, and planned out the units use we had multiple configurations for it and even allowed for movement of the antenna ports to different holes in the case.
We decided fairly quickly that this would invite a lot of problems with accidental damage, and tons of questions on where what should go.
In the spirit of making the InvisaGig system truly ‘Super Simple’ we decided to seal up the system and statically set the antennas where they are today. This means, for the end user, that there should be a label on each antenna to identify which antenna is which, right? Well, we didn’t get that on the case. Smooth, right?
To remedy that for now, here is a hopefully detailed and totally not confusing graphic that details not only what each port is, but how you would use it on a 4×4 MIMO antenna, like the one in the picture from The Wireless Haven.
I’ve purposely not given the ports names, as so far I have personally seen a HUGE number of questions on antenna port labelling. If we call it “0, 1, 2 3” then there is no antenna context. If we call them “Main, Diversity, MIMO1, MIMO2”, or “M1, M2, D1, D2” or “Main1, Main2, MIMO1, MIMO2” etc, etc, we get questions on which antenna pairs with which.
So a graphic it is!
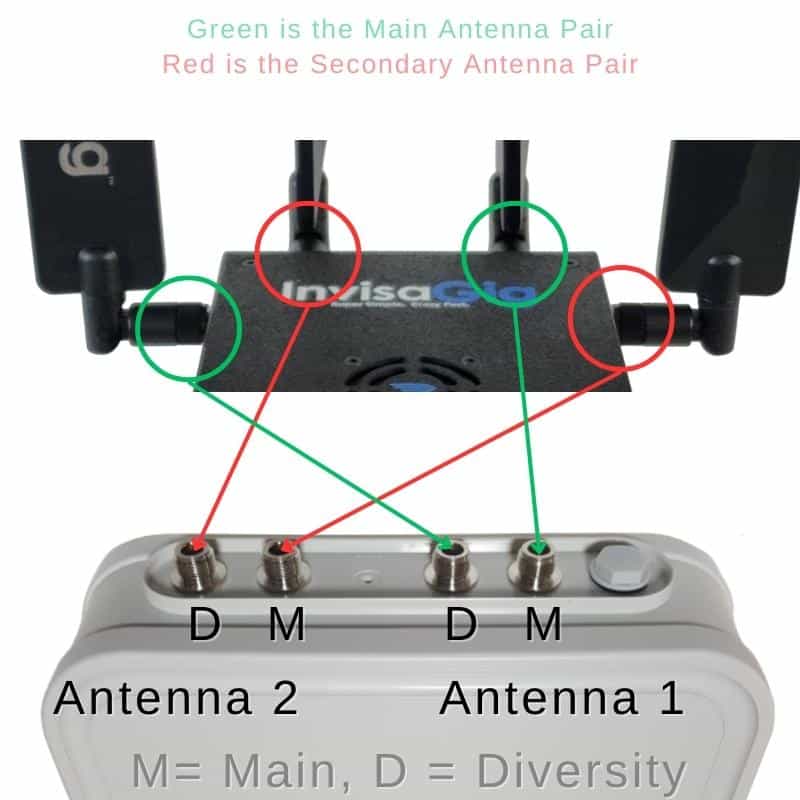
If you happen to be using two 2×2 MIMO antennas, then simply connect the “red” to one antenna, and the “green” to the second antenna.
If you are using four individual antennas, then it doesn’t matter which goes to which. Just make sure you “polarize” (tilt) your antennas properly in respect to each other antenna in your array.
If you need more help with your antenna, and which antenna port is which, please reach out to your antenna retailer for those details. I am certain any reputable retailer of wireless connectivity equipment will thoroughly answer any questions you have about their products.
We offer support for InvisaGig, of course, and we can help you get going but we cannot genuinely offer support for other products that we may or may not have experience with.
