InvisaGig Remote Access with Tailscale VPN
Remote Access to the InvisaGig 5G Modem with the Tailscale VPN Service
Announcing a New Feature of the InvisaGig 5G Modem...

Hey everybody!
Richard here with an announcement from InvisaGig...
InvisaGig & Tailscale: The Best 5G Modem with an Industry-Leading VPN Service

Remote Access Anywhere in the World with Tailscale and InvisaGig
Here at InvisaGig, we finally introduced a feature for remote access anywhere in the world between two different devices on an encrypted, tunnel point-to-point connection using the Tailscale VPN service. Tailscale is free for anybody that wants to use it, so it’s not a paid feature; it’s just more versatility and value being added into your InvisaGig cellular modem.
After lots of field testing of running InvisaGig with Tailscale, we’re thrilled to announce this feature, and we’re happy to walk you through the setup process on your InvisaGig to get it up and running for yourself. Feel free to watch the video above, or simply follow along below…
Getting Set Up with Tailscale First
Before we can get your InvisaGig up and running seamlessly with Tailscale, first we need to get Tailscale itself squared away. Before you get your first client or your first node put on your Tailnet, using a PC / laptop, or even your mobile phone.
Setting Up Tailscale for the First Time
Over at the Tailscale YouTube Channel, they have a fantastic plethora of walkthrough and tutorial videos available for many use cases. One video in particular does an excellent job informing new users how to set up Tailscale in less than 10 minutes. We recommend viewing this video first to get onboarded with Tailscale, and then once that’s complete, we can integrate InvisaGig into the mix:
Using InvisaGig with Tailscale
Your InvisaGig cellular modem must be on firmware version 1.0.12 or later to be able to use it with Tailscale.
Once you’ve confirmed this to be the case, follow the instructions below enable Tailscale functionality with your InvisaGig:
1. Log Into The InvisaGig Interface
- Visit 192.168.225.1 in a web browser that is running on a network provided by your InvisaGig modem.
2. Go Into Connection Configuration Settings in the InvisaGig Interface
- This is currently option 4 in the InvisaGig menu.
3. Select the Tailscale Option
- This is currently option 6 in the InvisaGig menu.
- You will likely be greeted with “Tailscale is not currently configured. Would you like to configure Tailscale connectivity?”
- Enter “Y” for “Yes” to proceed.
4. Enter the Desired Tailnet Machine Name
- The Tailnet that you’re going to log into needs to know the name of your target device (your InvisaGig).
- InvisaGig already has a default device name that starts with “IG” (for InvisaGig). Each unique InvisaGig unit has its own unique device name, so if you have multiple units, this will not be a problem identifying and targeting a specific one in this process.
- Nonetheless, you can rename the device in this phase of setup.
- Hit “Enter” to proceed.
- Upon finalizing the device name, your InvisaGig unit will start the Tailscale services, which basically creates the interface and initializes the settings it needs for authentication with your Tailnet account that you already created.
- Once Tailscale services have successfully booted, your InvisaGig menu will supply a URL, which you will now click.
- After visiting the link destination, a new page will launch with a popup window asking you to Reauthenticate your device key. Click “Reauthenticate”, which will deliver you to the Tailscale login page.
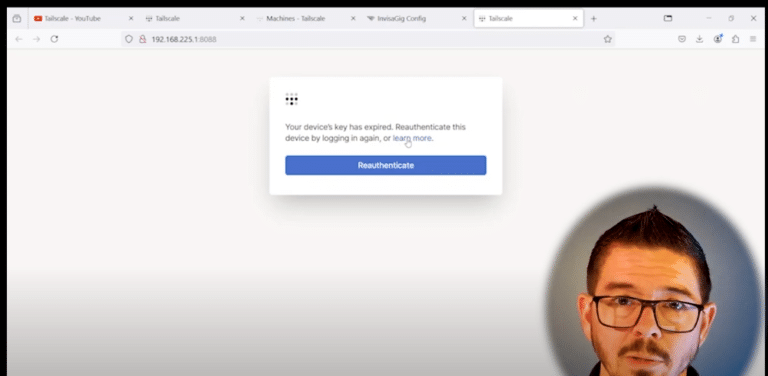
If you don't see the "Reauthenticate" popup at the new page that launches, you may need to disable adblock / popup blockers to be able to view it.
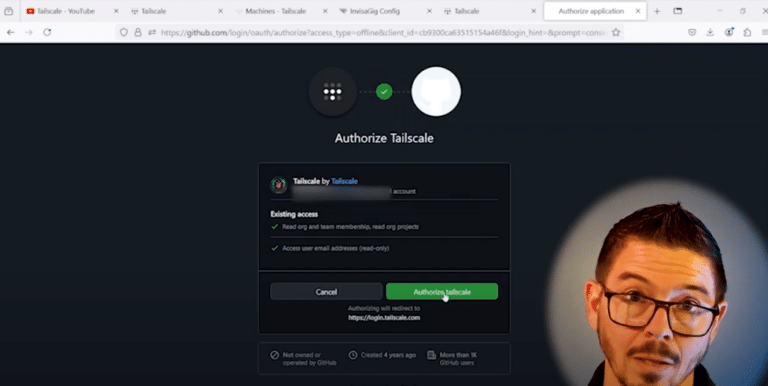
5. Log Into Tailscale Again
- After clicking “Reauthenticate” in the previous steps, you’ll be asked to “Authorize Tailscale”. Click this button to do so.
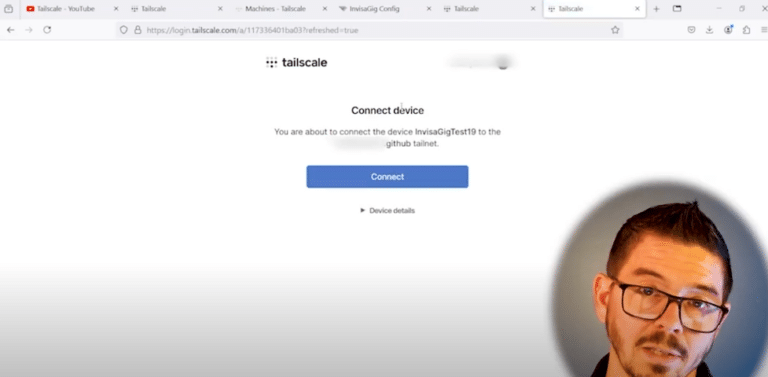
6. Connect Your InvisaGig Device to Tailscale
- After clicking “Authorize Tailscale” in the previous step, you’ll be asked to “Connect Device” to connect your InvisaGig unit to your Tailnet. Click the “Connect” button to do so.
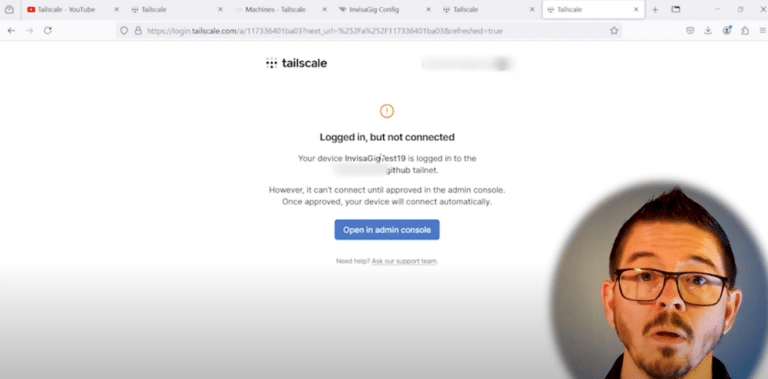
7. "Logged In, But Not Connected"?
- Depending on your Tailnet account settings, such as instances in which you may have multiple users or shared access situations on your Tailnet account, you may need to go into the backend dashboard in the admin console to fully authorize this connection. If you’re prompted by this, simply click “Open in Admin Console” and approve the connection by clicking “Approve”.
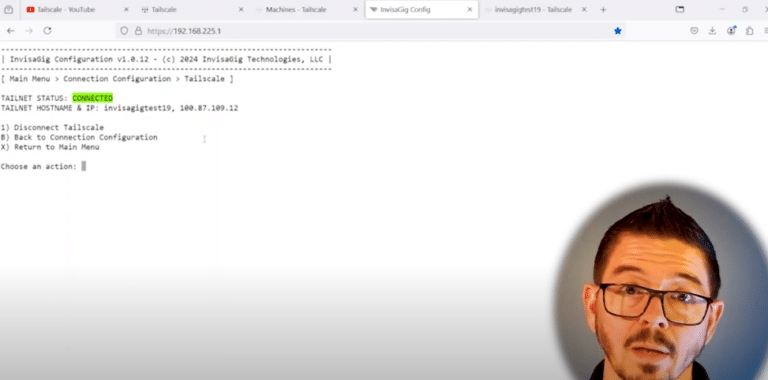
8. Go Into Connection Configuration Settings in the InvisaGig Interface to Check the Tailscale Connection Status
- This is currently option 4 in the InvisaGig menu.
- Check “Tailscale Status” to view the connection status.
- You can also view more connection info in the “Modem Info” area of the InvisaGig menu (currently option 2 in the menu).
Contact the InvisaGig Sales Team to Discuss How InvisaGig Can Simplify Your Wireless Networking Needs